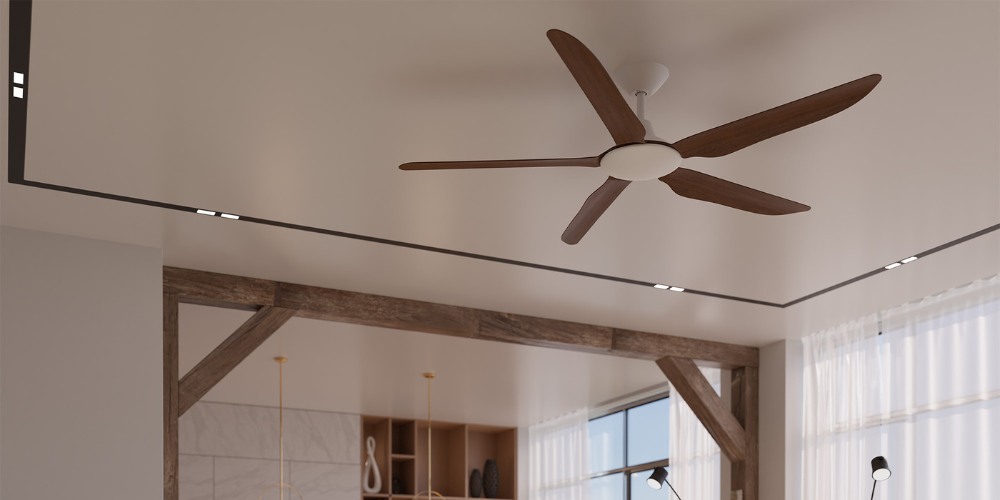
When winter rolls around, most of us are busy swapping thongs for ugg boots and digging out the extra-thick doona. But what about your ceiling fan? Yep, it deserves a little seasonal love too. Believe it or not, your trusty fan can be your best mate in winter — if you set it up right. Plus, it can even help you save on those heating bills. Let’s get your ceiling fan winter-ready in just a few easy steps.
Getting Your Ceiling Fan Winter-Ready: A Quick Guide
Step 1: Flip That Switch — Reverse Your Ceiling Fan Direction
First things first — you’ve got to switch your ceiling fan into winter mode. Most fans have a little toggle switch on the motor housing. This simple flick changes the direction of the blades from counter-clockwise (summer mode) to clockwise (winter mode). Why bother? Because warm air naturally rises, leaving your feet freezing and the ceiling toasty.
Reversing your ceiling fan gently pushes that warm air back down into the room where you actually need it. It keeps things cosy without sending a gale-force wind your way. Remember: in winter, you want your fan spinning slowly in a clockwise direction. It should be just enough to circulate the warm air without making you feel like you’re standing in front of a wind machine at a fashion shoot.
Step 2: Give It a Good Clean
If you haven’t looked up at your ceiling fan in a while, brace yourself — it’s probably collected more dust than your New Year’s resolutions. Giving your fan a clean not only helps with air quality, but it also keeps your fan working efficiently. Grab a microfibre cloth or an old pillowcase, gently wipe down each blade, and be sure to give the motor housing a once-over too.
For the love of your lungs, don't just flick the fan on full blast to “shake the dust off” — unless you fancy a DIY dust storm in your lounge room. Clean fans mean better airflow and less strain on the motor, which means your fan will last longer and keep performing at its best.
Step 3: Check for Wobbles and Noises
Nothing ruins a cosy movie night like a squeaky or wobbly ceiling fan overhead. Before you set your fan to work for winter, give it a little test run. Listen for odd noises and watch for any wobbling. If you spot anything suspicious, it might be as simple as tightening a few screws! A little maintenance now can save you a lot of headaches (and repair costs) down the track.
Step 4: Use Your Fan Smartly With Heating
Ceiling fans aren’t just a summer hero — they’re a hidden winter MVP too. When used correctly, a ceiling fan can work alongside your heater to help you save big on energy costs. By setting your fan to winter mode and running it on low speed, you help spread the warm air more evenly around the room.
That means you can set your heater a few degrees lower and still stay nice and toasty. Less energy use means a smaller power bill — and more budget left for hot chocolates and winter weekend getaways.
Bonus Tip: Make It Part of Your Seasonal Routine!
Just like you swap your wardrobe from boardies to beanies, checking your ceiling fan should become part of your seasonal switch-up. Add it to your checklist along with changing smoke alarm batteries and prepping the fire pit for backyard gatherings. A quick clean, a reverse switch and a check-up takes all of ten minutes and keeps your home feeling fresh and comfortable all winter long.
Conclusion: Small Effort, Big Comfort Gains
Getting your ceiling fan winter-ready is one of those little jobs that pays off big time. With a quick switch, a quick clean and a quick check, you’ll make your home cosier, more energy-efficient and ready to take on those chilly nights. Because let’s be real — winter is tough enough without cold toes and sky-high power bills.


